Grain Spawn vs. Liquid Culture vs. Culture Slants: Which Do You Need?
Understanding the three main spawn formats and when to use each one in your cultivation workflow.
If you have spent any time researching mushroom cultivation, you have encountered three fundamental formats for mushroom genetics: grain spawn, liquid culture, and culture slants. Each serves a distinct purpose in the cultivation pipeline, and choosing the right format — or combination of formats — can save you significant time, money, and frustration.
Yet the differences between these formats are poorly understood by many growers, especially those transitioning from hobby to commercial scale. Online forums are full of conflicting advice, and suppliers do not always explain when each format is most appropriate. The result is growers buying liquid culture when they need grain spawn, or investing in slants they do not have the lab skills to use.
This guide provides a clear, practical comparison of all three formats — what they are, when to use each, their pros and cons, cost implications, and which is best suited for your operation, whether you are a beginner growing your first oyster mushroom kit or a commercial producer running 1,000+ blocks per week.
Understanding the Cultivation Pipeline
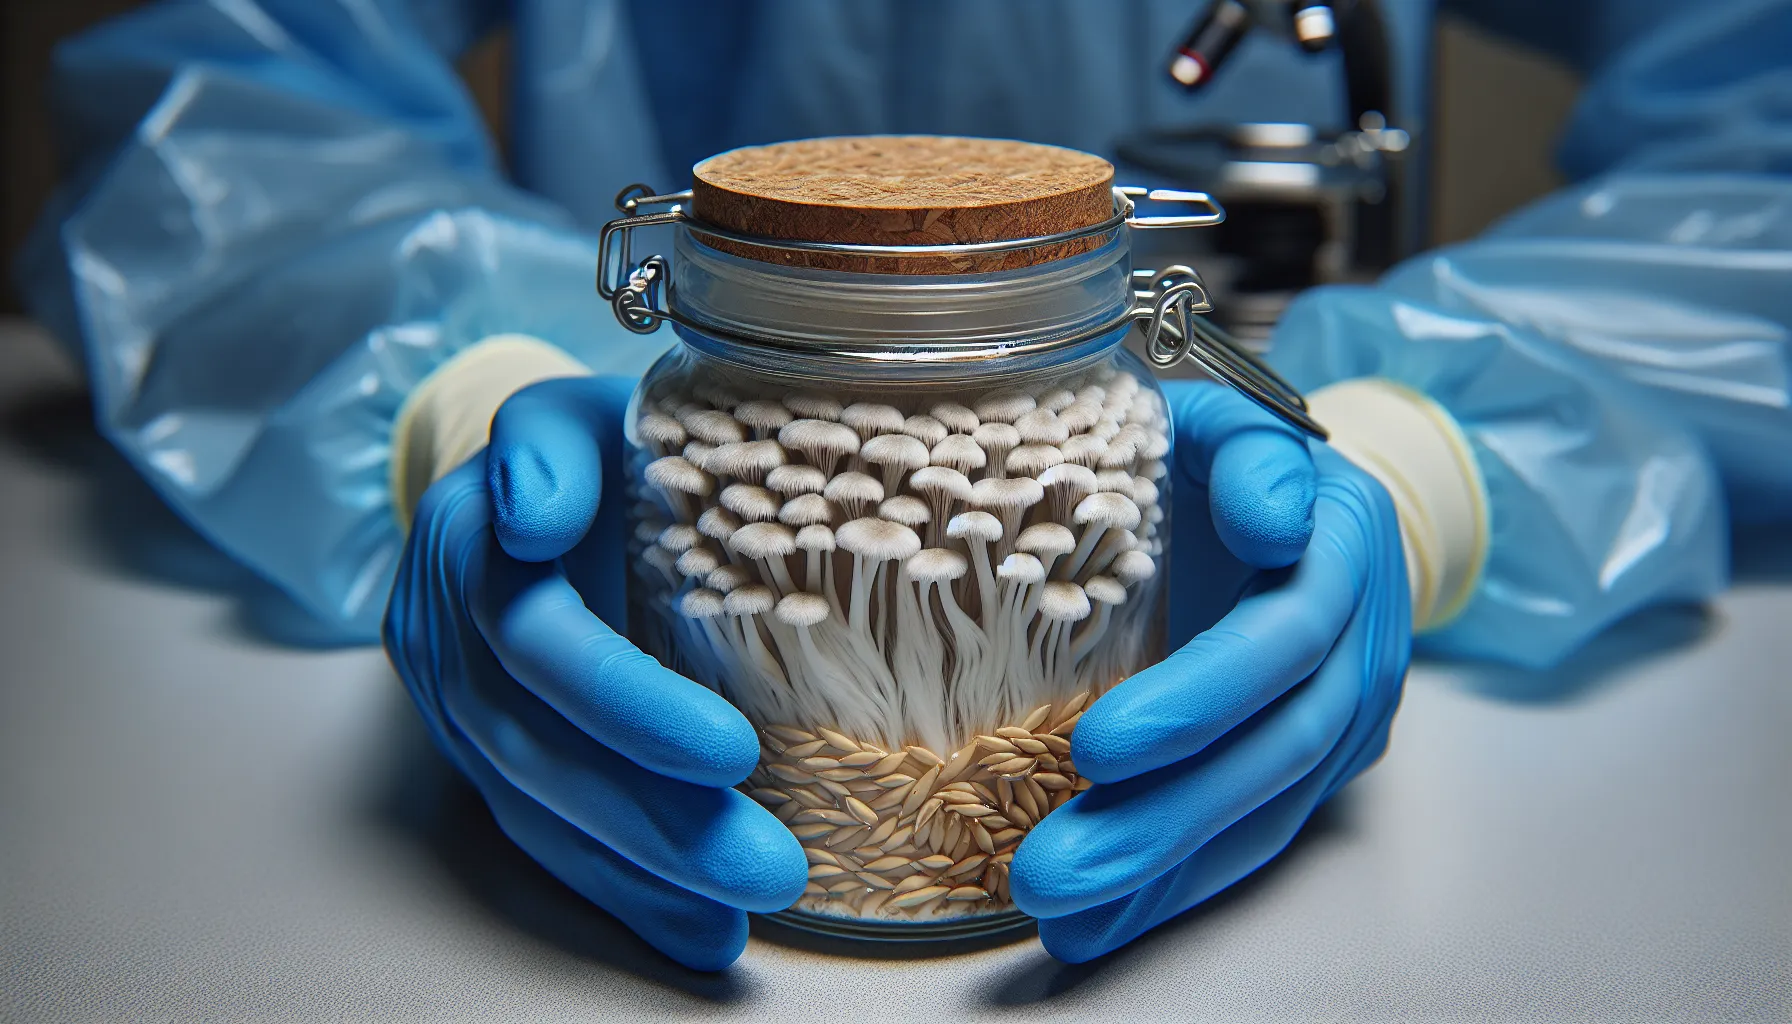
Before diving into each format, it helps to understand where they fit in the mushroom cultivation workflow. The pipeline from genetics to harvestable mushrooms follows a general sequence:
- Master culture — The original genetic isolation, stored on agar or in cryogenic preservation.
- Working culture — An expansion from the master culture, used for production. This is where culture slants and liquid culture typically fit.
- Spawn — The working culture expanded onto a carrier medium (usually grain) that can be mixed into bulk substrate. This is grain spawn.
- Bulk substrate — The final growing medium (sawdust, straw, etc.) inoculated with grain spawn.
- Fruiting — The mushrooms you harvest and sell.
Each format — slant, liquid culture, and grain spawn — occupies a different position in this pipeline. Choosing the wrong format means either adding unnecessary steps or skipping steps you cannot afford to skip.
What Is Grain Spawn?
Grain spawn is sterilized cereal grain — typically rye, wheat, millet, or sorghum — that has been inoculated with mushroom mycelium and allowed to fully colonize. The result is a bag or jar of individual grain kernels, each coated in a layer of vigorous mycelium, ready to be mixed directly into your bulk substrate.
Grain spawn is the workhorse of commercial mushroom production. It is the format that directly interfaces with your substrate, and for most growers, it is the primary product they purchase from a spawn supplier.
How Grain Spawn Is Produced
Professional grain spawn production involves several precise steps:
- Grain preparation: Raw grain is soaked in water for 12–24 hours to hydrate, then simmered until the moisture content reaches approximately 45–50%. The grain is drained and optionally coated with gypsum (calcium sulfate) to prevent clumping and maintain pH.
- Sterilization: Prepared grain is loaded into autoclavable bags or jars with filter patches and sterilized at 121°C (15 PSI) for 90–120 minutes. This kills all competing organisms.
- Inoculation: Under sterile conditions (laminar flow hood or cleanroom), cooled grain is inoculated with either a wedge of colonized agar, a measured volume of liquid culture, or a portion of previously colonized grain spawn.
- Incubation: Inoculated bags are held at species-appropriate temperatures — typically 21–24°C for most gourmet species — until fully colonized. This takes 10–21 days depending on species, inoculation rate, and grain type.
- Quality control: Finished spawn is inspected for contamination, viability, and colonization completeness before release.
At Boreal Genetics, our grain spawn is produced on organic rye grain in a dedicated lab environment with HEPA filtration. Each batch is inspected and tested before shipping to ensure consistent quality.
Pros of Grain Spawn
- Ready to use: No additional expansion or lab work required. Open the bag, break it up, and mix it into your substrate.
- High inoculation points: Each grain kernel acts as an independent inoculation point. A single 2.3 kg bag contains thousands of colonized grains, allowing rapid and even colonization of bulk substrate.
- Proven commercial format: The global commercial mushroom industry runs on grain spawn. It is the most reliable, scalable, and well-understood format.
- No lab skills required: You do not need sterile technique, a laminar flow hood, or any mycology lab equipment to use grain spawn effectively.
- Consistent results: When purchased from a reputable supplier, grain spawn delivers predictable performance batch after batch.
Cons of Grain Spawn
- Limited shelf life: Grain spawn should be used within 2–4 weeks of production for optimal performance. Refrigeration at 2–4°C can extend this to 6–8 weeks, but vigour declines over time.
- Higher per-unit cost: Because grain spawn is a finished product requiring significant labour and materials, it costs more per unit than liquid culture or slants.
- Shipping weight: A 2.3 kg bag is heavier than a syringe of liquid culture or a slant tube, which means higher shipping costs.
- Temperature sensitive: Grain spawn can be damaged by freezing or overheating during shipping, making transit conditions important.
What Is Liquid Culture?
Liquid culture (LC) is a suspension of mushroom mycelium growing in a sterilized nutrient broth — typically a solution of water with a small percentage of a sugar source such as light malt extract (2–4%), honey (3–4%), or dextrose (2–4%). The mycelium grows as a network of wispy, cloud-like filaments suspended throughout the liquid.
Liquid culture occupies a middle position in the cultivation pipeline. It is more expanded than a slant but less expanded than grain spawn. It is primarily used as an inoculant — to create grain spawn, to inoculate sterilized substrate directly, or to expand genetics efficiently.
How Liquid Culture Is Produced
Liquid culture production follows these steps:
- Media preparation: A nutrient broth is mixed (e.g., 20 g light malt extract per litre of water) and distributed into jars or bottles with modified lids that include an injection port and a 0.2-micron filter for gas exchange.
- Sterilization: The media is sterilized at 121°C (15 PSI) for 20–30 minutes.
- Inoculation: Under sterile conditions, a small piece of agar culture or a sample from an existing liquid culture is introduced into the sterile broth.
- Incubation: The culture is incubated at 21–24°C, often on a magnetic stir plate or with periodic manual swirling to break up mycelial clusters and encourage even growth. Full colonization takes 7–14 days.
- Harvest: The finished liquid culture is drawn up into sterile syringes or dispensed directly from the jar for inoculation purposes.
Pros of Liquid Culture
- Cost-effective expansion: A single 10 mL syringe of liquid culture can inoculate 5–10 bags of grain, making it a very economical way to produce your own spawn.
- Fast colonization: Because liquid culture introduces mycelium in a liquid state that can flow between grain kernels, initial colonization of grain is often faster than grain-to-grain transfers.
- Lightweight shipping: A 10 mL syringe weighs practically nothing and can be shipped affordably via lettermail or small parcel.
- Good shelf life when refrigerated: Liquid culture syringes can remain viable for 2–6 months when stored at 2–4°C, depending on the species and media used.
- Versatile: Can be used to inoculate grain, agar plates, sterilized substrate, or even cardboard and dowels for outdoor log cultivation.
Cons of Liquid Culture
- Requires sterile technique: You need a still air box (SAB) or laminar flow hood to use liquid culture without introducing contamination. Injecting LC into grain bags in open air is a recipe for failure.
- Contamination is invisible: Unlike agar, where you can visually identify contamination before it spreads, bacterial contamination in liquid culture is often impossible to detect until the culture is plated or used. A syringe that looks perfectly fine can be harbouring bacteria that will ruin every bag it touches.
- Not ready to use on substrate: Liquid culture must first be expanded onto grain (or another carrier) before it can be mixed into bulk substrate at commercial rates. It adds a step to the process.
- Variable quality: Liquid culture is only as good as the genetics and sterile technique used to produce it. The market is unfortunately flooded with low-quality LC syringes produced in non-sterile conditions by hobbyist sellers.
- Species limitations: Some species (e.g., certain morel strains, some reishi varieties) do not grow well in liquid culture, producing weak or slow cultures that underperform as inoculants.
What Are Culture Slants?
A culture slant is a test tube or vial containing sterilized agar medium that has been poured at an angle (creating a “slant” surface) and then inoculated with mushroom mycelium. Slants are the traditional format for storing and distributing pure fungal cultures in mycology.
Culture slants sit at the very beginning of the cultivation pipeline. They are genetic stock — a preserved, living sample of a specific strain that can be expanded onto agar plates, into liquid culture, or onto grain over multiple generations.
How Culture Slants Are Produced
Slant production is relatively straightforward for anyone with basic lab skills:
- Media preparation: An agar medium — typically malt extract agar (MEA), potato dextrose agar (PDA), or a custom formulation — is prepared, sterilized, and poured into test tubes or screw-cap vials.
- Slanting: While the agar is still liquid, the tubes are placed at a 15–20° angle and allowed to solidify, creating an angled surface that maximizes the surface area for mycelial growth.
- Inoculation: A small piece of colonized agar from a known, clean culture is transferred onto the slant surface under sterile conditions.
- Incubation: Slants are incubated at 21–24°C until the mycelium has colonized the entire agar surface, typically 7–14 days.
- Storage: Colonized slants are sealed with parafilm and stored at 2–4°C for long-term preservation.
Pros of Culture Slants
- Longest shelf life: Properly stored slants can remain viable for 6–18 months, and some species can survive years in cold storage. This makes slants the best format for building a personal culture library.
- Genetic insurance: A slant is your backup copy of a strain. If your liquid culture becomes contaminated or your grain spawn ages out, you can always return to the slant and start fresh.
- Lowest cost per strain: Slants are typically the most affordable format, ranging from $12–$20 CAD per tube. This makes them an economical way to acquire new genetics.
- Compact and shippable: A slant tube is small, lightweight, and relatively resilient in transit. It can be shipped year-round with minimal temperature concern since the agar provides some insulation and the mycelium is in a dormant state.
- Visual verification: Unlike liquid culture, you can clearly see the mycelium growing on the agar surface, making it easy to verify viability and check for contamination before expanding.
Cons of Culture Slants
- Requires lab skills and equipment: To use a slant, you need to transfer mycelium onto agar plates or into liquid culture under sterile conditions. This requires a still air box or flow hood, sterile scalpel, agar plates, and familiarity with aseptic technique.
- Multiple expansion steps required: A slant is many steps removed from fruiting mushrooms. You need to go from slant → agar plate → liquid culture or grain spawn → bulk substrate → fruiting. Each step adds time and introduces contamination risk.
- Slowest path to production: From slant to harvestable mushrooms, you are looking at 6–10 weeks minimum, compared to 3–5 weeks starting from grain spawn.
- Not practical for beginners: Without basic mycology lab skills, slants are essentially unusable. They are a tool for intermediate to advanced cultivators.
Side-by-Side Comparison
Here is a direct comparison across the key factors that matter most to growers:
| Factor | Grain Spawn | Liquid Culture | Culture Slant |
|---|---|---|---|
| Ready to use on substrate? | Yes — mix directly into substrate | No — must expand onto grain first | No — requires multiple expansion steps |
| Skill level required | Beginner | Intermediate | Advanced |
| Lab equipment needed | None | Still air box or flow hood | Still air box or flow hood, agar supplies, scalpel |
| Shelf life (refrigerated) | 4–8 weeks | 2–6 months | 6–18 months |
| Cost per unit (typical CAD) | $18–$35 per 2.3 kg bag | $12–$22 per 10 mL syringe | $12–$20 per tube |
| Cost to reach 10 substrate blocks | $18–$35 (1 bag = 8–10 blocks) | $12–$22 + grain + labour | $12–$20 + agar + LC/grain + labour |
| Colonization speed | Fastest (already on grain) | Fast (liquid inoculant) | Slowest (must expand first) |
| Contamination detection | Visual — green, black, or off-colour patches | Difficult — bacteria often invisible | Visual — clear on agar surface |
| Best for | Immediate production | Spawn production, cost-conscious expansion | Long-term storage, culture libraries |
Which Format Is Best for Beginners?
If you are new to mushroom cultivation, grain spawn is the clear winner. It eliminates the need for sterile lab work, removes multiple expansion steps from your workflow, and lets you focus on learning the fundamentals — substrate preparation, environmental control, and fruiting management — without the added complexity of mycology lab technique.
A beginner’s typical workflow with grain spawn:
- Order grain spawn from a reputable supplier like Boreal Genetics.
- Prepare your substrate (pasteurized straw for oysters, sterilized hardwood sawdust for shiitake or lion’s mane).
- Mix the grain spawn into the substrate at the recommended ratio (typically 10–20% spawn by weight).
- Bag or container the inoculated substrate and incubate.
- Move to fruiting conditions when fully colonized.
- Harvest and enjoy.
No agar work, no syringes, no flow hoods. Just grain spawn and substrate. As your skills and confidence grow, you can explore liquid culture to start producing your own spawn, and eventually slants to build a personal culture library.
Which Format Is Best for Commercial Operations?
For commercial growers, the answer depends on your scale, infrastructure, and whether you produce your own spawn in-house.
Small Commercial (50–200 blocks/week)
At this scale, most growers purchase grain spawn directly from a supplier. The maths is straightforward: if you need 10–20 bags of grain spawn per week at $22–$30 CAD each, your spawn cost is $220–$600 CAD weekly. That is a manageable and predictable expense that frees you to focus on production, sales, and quality rather than running a spawn lab.
For small commercial growers, we recommend: Grain spawn from a trusted supplier + 1–2 culture slants per strain as genetic insurance.
Medium Commercial (200–1,000 blocks/week)
At this scale, in-house spawn production starts to make economic sense. A medium-scale grower might invest $5,000–$15,000 CAD in a basic spawn lab — a small cleanroom or flow hood, a pressure sterilizer, grain storage, and incubation space — and produce their own grain spawn from liquid culture purchased from a supplier.
The economics shift significantly: a 10 mL syringe of liquid culture ($15–$22 CAD) can produce 5–10 bags of grain spawn that would otherwise cost $110–$300 CAD to purchase. Even accounting for grain, bags, energy, and labour, in-house spawn production at this scale can reduce per-bag spawn costs by 50–70%.
For medium commercial growers, we recommend: Liquid culture from a trusted supplier + in-house grain spawn production + culture slants for strain preservation.
Large Commercial (1,000+ blocks/week)
Large-scale operations almost always produce spawn in-house and maintain their own culture libraries. At this scale, you are likely purchasing culture slants or maintaining ongoing strain development relationships with genetics suppliers. Liquid culture may be produced in-house from slants, and grain spawn production is a fully integrated part of your operation.
For large commercial growers, we recommend: Culture slants for genetics acquisition + in-house liquid culture and grain spawn production + periodic fresh genetics from a trusted supplier to refresh your culture library.
Cost Analysis: The Real Numbers
Let us compare the cost of producing 100 substrate blocks per week using each format as your starting point. We will assume each block requires approximately 230 g of grain spawn (a 10% inoculation rate for a 2.3 kg block).
Scenario 1: Purchasing Grain Spawn
- Spawn needed: ~10 bags of 2.3 kg grain spawn per week
- Cost per bag: $25 CAD (mid-range commercial pricing)
- Weekly spawn cost: $250 CAD
- Monthly spawn cost: $1,000 CAD
- Annual spawn cost: $12,000 CAD
- Additional equipment needed: None
Scenario 2: Purchasing Liquid Culture, Making Grain Spawn In-House
- LC syringes needed: ~2 per week (each inoculates 5 bags of grain)
- Cost per LC syringe: $18 CAD
- Grain cost: ~$1.50 CAD per bag (organic rye, purchased in bulk)
- Bags and supplies: ~$1.00 CAD per bag
- Energy (sterilization): ~$0.50 CAD per bag
- Labour: ~$3.00 CAD per bag (assuming $20/hr and 15 min per bag average)
- Weekly cost: $36 (LC) + $60 (grain + bags + energy + labour) = $96 CAD
- Monthly cost: $384 CAD
- Annual cost: $4,608 CAD
- Equipment investment: $5,000–$15,000 CAD (one-time)
Scenario 3: Purchasing Slants, Making LC and Grain Spawn In-House
- Slants needed: 1–2 per strain every 6–12 months ($15 CAD each)
- LC production cost: negligible (water + malt extract)
- All other costs same as Scenario 2, minus LC syringe purchases
- Weekly cost: ~$60 CAD
- Monthly cost: $240 CAD
- Annual cost: $2,880 CAD + ~$60 for slant refreshes
- Equipment investment: $8,000–$20,000 CAD (one-time, includes agar and LC production equipment)
The numbers are clear: in-house spawn production offers significant cost savings at scale. But those savings come with real trade-offs — equipment investment, the need for trained staff, additional failure points, and the ongoing time commitment of running a spawn lab alongside your fruiting operation.
For many small-to-medium operations, the best approach is a hybrid: purchase grain spawn from a trusted supplier for your primary production while gradually building in-house capability as your operation grows and your margins justify the investment.
Storage and Handling Best Practices
Regardless of which format you use, proper storage and handling are critical for maintaining viability.
Grain Spawn Storage
- Store at 2–4°C (standard refrigerator temperature) if not using immediately.
- Do not freeze — ice crystal formation damages mycelium.
- Use within 2–4 weeks for optimal performance; within 6–8 weeks maximum.
- Allow spawn to reach room temperature (18–22°C) for 12–24 hours before inoculating substrate.
- Break up the spawn thoroughly by kneading the bag before use.
- Never open grain spawn bags in a non-clean environment; transfer to substrate promptly once opened.
Liquid Culture Storage
- Store syringes at 2–4°C, cap-up to prevent leakage.
- Viable for 2–6 months refrigerated, but best used within 2–3 months.
- Before use, allow the syringe to warm to room temperature and shake gently to distribute mycelium evenly.
- Sterilize the needle tip with a flame or alcohol wipe before each injection.
- If you see unusual colours (pink, yellow, cloudy bacterial haze) in the syringe, do not use it.
Culture Slant Storage
- Seal with parafilm around the cap to prevent dehydration and contamination.
- Store at 2–4°C in a stable environment (not in a refrigerator door that experiences temperature swings).
- Check periodically for drying or contamination.
- Transfer to fresh media every 6–12 months to maintain vigour — do not assume indefinite viability.
- Label clearly with species, strain designation, transfer number, and date.
How Boreal Genetics Produces Each Format
At Boreal Genetics, we produce all three formats — grain spawn, liquid culture, and culture slants — in our dedicated production lab. Our approach prioritizes genetics quality and consistency:
- Culture slants are produced from our master culture library, which contains lab-isolated strains maintained at minimal transfer counts. Each slant is a direct expansion from verified, high-vigour master cultures.
- Liquid culture is produced from fresh agar cultures in sterilized malt extract broth, incubated on magnetic stir plates for even growth, and drawn into sterile syringes under laminar flow.
- Grain spawn is produced on organic rye grain, sterilized in commercial autoclave bags, inoculated from tested liquid culture, and incubated under monitored conditions until full colonization is confirmed.
Every product that leaves our lab has passed visual inspection and quality testing. We stand behind our products with a straightforward replacement policy — if something is not right, we make it right.
Common Mistakes When Choosing a Format
Over the years, we have seen growers make several recurring mistakes when selecting their spawn format:
- Buying liquid culture without sterile equipment: LC is useless without a flow hood or still air box. If you do not have one, buy grain spawn instead.
- Buying slants as a beginner: Slants require multiple expansion steps and intermediate-to-advanced lab skills. Start with grain spawn and work up.
- Buying cheap LC syringes from unverified sellers: The liquid culture market on platforms like Etsy and Facebook Marketplace is rife with contaminated, mislabelled, and low-quality product. Buy from established suppliers with verifiable lab practices.
- Skipping grain spawn and trying to inoculate substrate directly with LC: While technically possible with some species and sterile substrates, inoculation rates are inadequate for commercial production. Grain spawn provides the biomass needed for rapid colonization.
- Not refrigerating grain spawn: Leaving grain spawn at room temperature after arrival accelerates metabolic activity and shortens shelf life significantly. Refrigerate immediately if not using within 48 hours.
Making Your Choice
The right format depends on where you are in your cultivation journey and what infrastructure you have available. Here is a simple decision framework:
- I am a beginner with no lab equipment → Buy grain spawn. Focus on learning substrate preparation and fruiting before adding lab work to your workflow.
- I have basic lab skills and a still air box → Buy liquid culture and make your own grain spawn. This is the sweet spot for cost-conscious growers scaling up.
- I have a flow hood and agar experience → Buy culture slants to build your genetics library, and produce your own liquid culture and grain spawn in-house.
- I am a commercial grower focused on production → Buy grain spawn from a reliable supplier so you can focus on what generates revenue — growing and selling mushrooms.
There is no shame in buying grain spawn at any stage of your growing career. Many successful commercial operations with decades of experience continue to purchase spawn rather than producing it in-house, because the cost of maintaining a spawn lab — in equipment, labour, and potential failures — exceeds the cost of buying from a specialist.
Getting Started
Whether you need ready-to-use grain spawn for your next production run, liquid culture to feed your in-house spawn lab, or culture slants to expand your genetics library, the most important factor is sourcing from a supplier you trust.
Explore your options:
- Browse our full spawn catalogue — grain spawn, liquid culture, and culture slants for all species.
- Read our comprehensive growing guide — species-specific cultivation instructions for every format.
- Contact us with questions about which format is right for your setup.
The format you choose is just the beginning. What matters most is the quality of the genetics inside — and having a knowledgeable supplier behind you when questions arise. Start where you are comfortable, grow your skills alongside your operation, and let the mushrooms guide you forward.
Related Spawn Science: How to Test Spawn Viability · Spawn Shelf Life & Storage Guide